Happy Easter/Spring everyone! I love springtime because everything looks so pretty with all the flowers blooming and the warmer weather. It is already pretty hot here in the Valley but not as bad as the summer so I am fine with that! This blog I decided to do another wreath, I love changing mine out each holiday or season and wreath making is an easy and fun way to decorate. My wreath has an Easter and spring theme because I liked some of the spring stuff so much I had to put it in there.

Here is the list of supplies needed for this type of wreath:
Grapevine wreath
1-2 cans of spray paint (depending on size)- color of your choice (I did white)
Wood or metal sign
2-3 inch ribbon for bow- I always make the bow off of the spool so I don’t waste any ribbon (you can buy an already made bow if you don’t like to make them)
Floral wire for bow
Thin curling ribbon or wire- small amount (ex. 12in long piece)
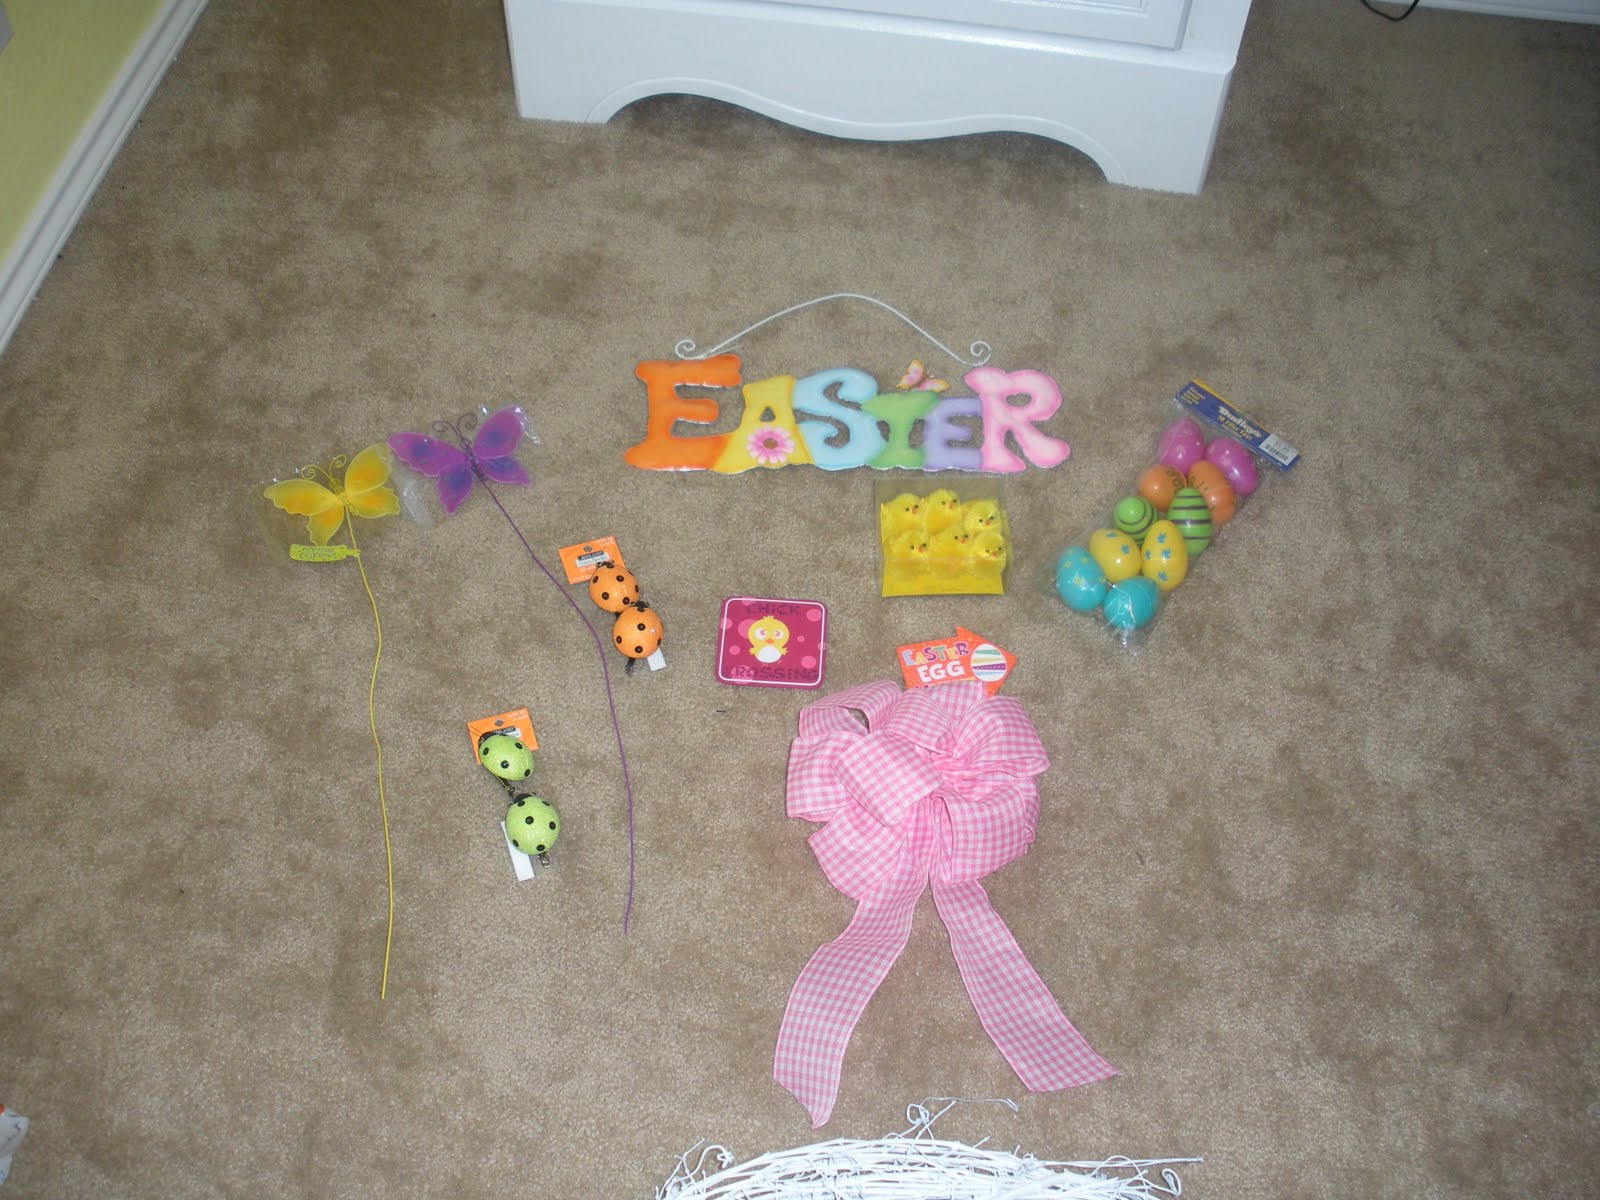
Assorted picks- I found some pretty butterflies and ladybugs that were bright and Spring-like.
Assorted accessories- I found some inexpensive plastic eggs, little wood signs and some cute chicks.
Hot glue gun
Glue sticks
Step 1:
Spray your wreath with the desired color spray paint. I usually spray paint in our driveway so that our garage doesn’t smell like spray paint. Also make sure you lay down a tarp or something under your wreath so you don’t get paint everywhere. I couldn’t find ours so I used an IKEA bag. Be sure to do both side of the wreath and in between the vines. Depending on the size of your wreath you may need more than one can. I used 1½ cans to get a good even coat and my wreath was a big one. Once your wreath is fully sprayed then set it off to the side to dry for about a day. Even if you use fast drying spray paint I would still wait a day to decorate so that you don’t have a mess.


Step 2:
First, I lay out my supplies and ‘play’ with different designs and arrangements of my accessories. Sometimes what you have in your head is not as pretty on the wreath or you come up with a better design while you are moving things around. This has happened to me a few times so I always ‘play’ first. Once you have decided on a layout, it’s time to glue.
Step 3:
Place your sign on the wreath first and secure it with the curling ribbon or wire. I always add some glue to the ribbon/wire and the wreath so that the sign doesn’t shift with moving it or with the wind. Next, place your bow. You can do any type of bow that you like. I change mine up from wreath to wreath. I did a 9 loop puffy bow this time. I chose a pink gingham print because I thought the Easter ribbons available at Hobby Lobby were too busy and I wanted something simple. Take the extra floral wire from making your bow and tie it to the branches in the wreath. Put a little glue on the wire where it meets the wreath for security.

Step 4:
Now you can start gluing your accessories and picks where you want them. First, I placed the 2 butterfly picks in the top left hand side of the wreath. I wanted them to look like they were flying from far away so I pushed the wire pick part through the middle of the branches in the wreath and wrapped it around the back. I wrapped the wires around themselves a few times so that the butterflies stood up straight and couldn’t move too much. Then I tucked in the wires so they don’t stick out.


Since I was able to find the plastic eggs that open and have the top and bottom shells remain attached, I thought it would be cute to place some of the chicks in the egg so that it looked like they were saying “peek-a-boo”! Hahaha Place some hot glue in the bottom part of the egg and stick your chick in there.

I bought 2 little wood signs that said Easter Egg Hunt and Chick Crossing so I glued one on each side and placed the matching chicks and eggs next to them. The cute little signs were less than a $1 at Hobby Lobby and they are so cute. I had leftover eggs so I put more of them on the same side as the chicks because I wanted the chick in the egg part to flow.

Lastly, I added my ladybug clips. These were too cute to pass up at Michael’s so I bought them and made them work into my theme. Plus ladybugs are for good luck so it can’t hurt, right? Since these just clip on I placed 2 on the bow and another one on the wire from the sign. I also added a little bit of glue to the clip before I closed it so it would stay better.


Here is the finished product!

I hope everyone has a "Hoppy" Easter!!!
